Angularを使って、シングルページアプリケーション(SPA)向けにOIDCの認証認可フローを実装します。
今回利用する環境は以下の通り
- Angular: 12.2.0
- angular-auth-oidc-client: 12.0.3
TOC
下準備
下準備として、プロジェクトフォルダの作成とAzureAD上でアプリケーションを作成します。
Angularプロジェクトの作成
プロジェクトを作成します。
> ng new
? What name would you like to use for the new workspace and initial project? oidc-frontend
? Would you like to add Angular routing? Yes
? Which stylesheet format would you like to use? SCSS   [ https://sass-lang.com/documentation/syntax#scss                ]

> cd .\oidc-frontend\
AzureADにてアプリケーションの作成
今回のSPA用にアプリケーションを作成します。
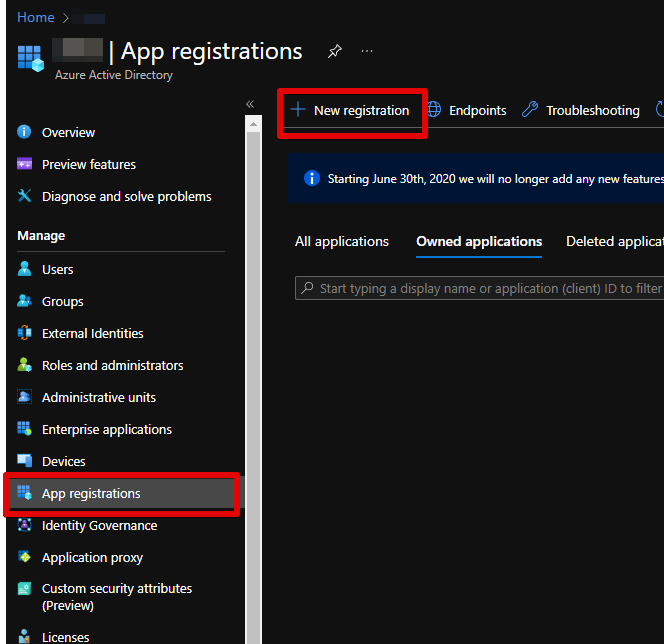
AzureADのメニューから新しくアプリケーションを作成します。
http://localhost:4200を設定しました。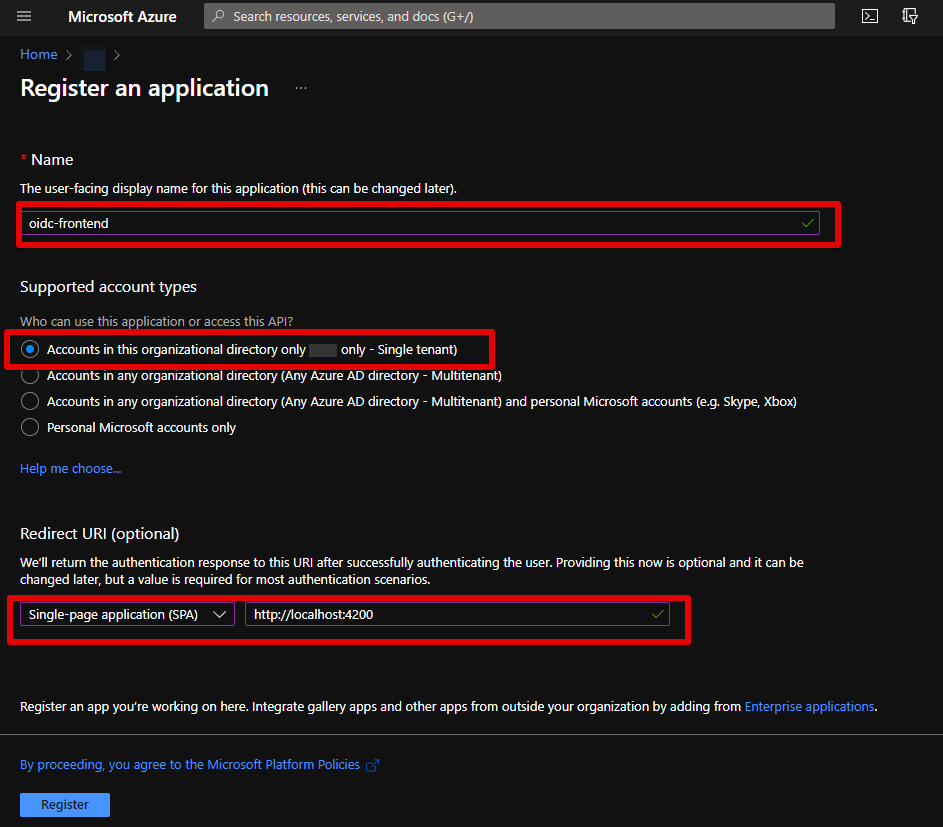
OIDCフローの実装
angular-auth-oidc-client ライブラリのインストール
下準備も終了したので、今回OIDC用に使用するライブラリを追加します。
> ng add angular-auth-oidc-client
ℹ Using package manager: npm
✔ Found compatible package version: angular-auth-oidc-client@12.0.3.
✔ Package information loaded.

The package angular-auth-oidc-client@12.0.3 will be installed and executed.
Would you like to proceed? Yes
✔ Package successfully installed.
? What flow to use? OIDC Code Flow PKCE using iframe silent renew
? Please enter your authority URL or Azure tenant id or Http config URL https://login.microsoftonline.com/<tenant id>/oauth2/v2.0/
    ✅️ Added "angular-auth-oidc-client" 12.0.3
    🔍 Installing packages...
    ✅️ Installed
    ✅️ "src/app/auth/auth-config.module.ts" will be created
    ✅️ 'AuthConfigModule' is imported in 'src/app/app.module.ts'
    All imports done, please add the 'RouterModule' as well if you don't have it imported yet.
CREATE src/app/auth/auth-config.module.ts (793 bytes)
CREATE src/silent-renew.html (678 bytes)
UPDATE package.json (1117 bytes)
UPDATE src/app/app.module.ts (477 bytes)
UPDATE angular.json (3287 bytes)
✔ Packages installed successfully.フローには今回OIDC Code Flow PKCE using iframe silent renewを使用しました。
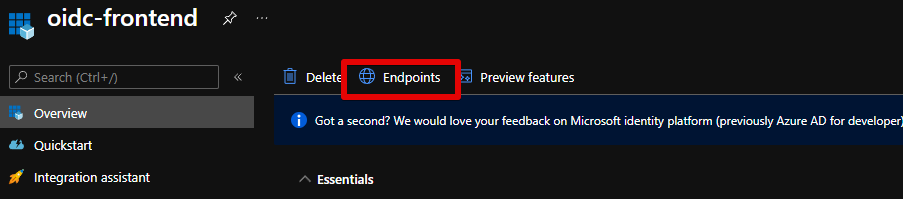
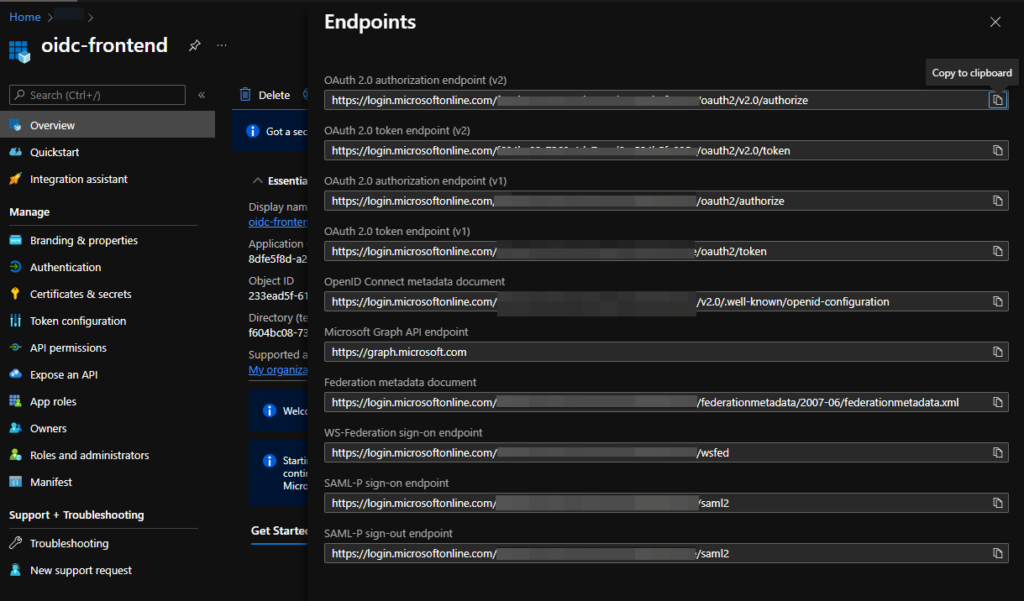
また、authority URLには下記の通りAzureADから情報を取得して設定しています。
EndpointsをクリックしてOpenID Connect metadata documentのURLから.well-known/openid-configurationを抜いた部分を指定。
これにより、認証に関する設定が入った src/app/auth/auth-config.module.tsとトークンの更新のためのHTMLsrc/silent-renew.htmlが追加されます。
AzureAD用の追加設定
AzureADと動作させるため、追加で認証の設定を行います。
import { NgModule } from '@angular/core';
import { AuthModule, LogLevel } from 'angular-auth-oidc-client';


@NgModule({
    imports: [AuthModule.forRoot({
        config: {
            authority: 'https://login.microsoftonline.com/<tenant id>/v2.0/',
            redirectUrl: window.location.origin,
            postLogoutRedirectUri: window.location.origin,
            clientId: '<client id>',
            scope: 'openid profile email',
            responseType: 'code',
            silentRenew: true,
            silentRenewUrl: window.location.origin + '/silent-renew.html',
            renewTimeBeforeTokenExpiresInSeconds: 10,
            maxIdTokenIatOffsetAllowedInSeconds: 600,
            logLevel: LogLevel.Debug,
        }
      })],
    exports: [AuthModule],
})
export class AuthConfigModule {}
変更した箇所は以下のとおりです。
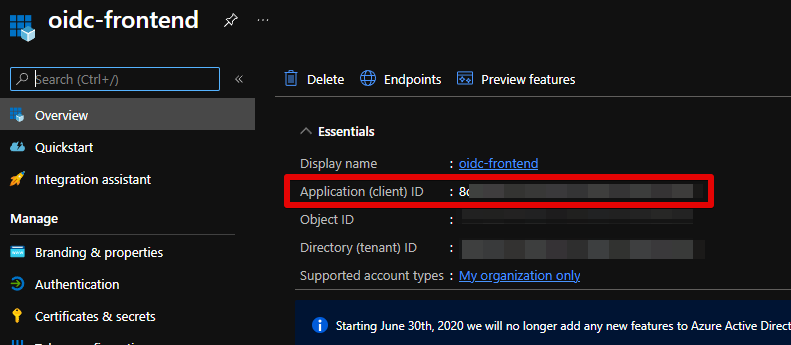
- clientId
AzureADのページからApplication (client) IDという箇所をコピーして貼り付けます。
- scope
スコープはopenid profile emailと基本的なスコープを指定 - maxIdTokenIatOffsetAllowedInSeconds
IDtoken内のIat(トークン生成時間)と現在時刻のズレをどこまで許容するかというパラメーターです。何故かAzureADから発行されるIatが5分前の時刻になっているので、5分の2倍である10分を指定しています。 - logLevel
デバッグログを有効化するためLogLevel.Debugにしています。
基本的な設定は以下のとおりで、今回は動きを見るため、デバッグログを有効化しています。
ちなみに、maxIdTokenIatOffsetAllowedInSecondsを設定しないと下記のログを出してIDトークンの検証に失敗します。

[WARN] 0-<client id> - authCallback Validation, iat rejected id_token was issued too far away from the current time
[WARN] 0-<client id> - authorizedCallback, token(s) validation failed, resetting. Hash:
[ERROR] 0-<client id> - authorizedCallback, token(s) validation failed, resetting. Hash:
これは、IDトークンの生成時刻が5分前で、デフォルトのズレを許容する時刻が2分なのでエラーとなっています。
なぜ、5分前の時刻を使って生成されるのかはわからない。。。
ログイン・ログアウトの実装
続いて、下記のサンプルコードを参考にログイン・ログアウトをAppComponentに実装します。
参考 サンプルコードimport { Component, OnInit } from '@angular/core';
import { OidcSecurityService, OpenIdConfiguration, UserDataResult } from 'angular-auth-oidc-client';
import { Observable } from 'rxjs';
@Component({
selector: 'app-root',
templateUrl: './app.component.html',
styleUrls: ['./app.component.scss']
})
export class AppComponent implements OnInit{
title = 'oidc-frontend';
userData$: Observable<UserDataResult>;
configuration: OpenIdConfiguration;
isAuthenticated = false;
constructor(public oidcSecurityService: OidcSecurityService) {
this.configuration = this.oidcSecurityService.getConfiguration();
this.userData$ = this.oidcSecurityService.userData$;
}
ngOnInit() {
this.oidcSecurityService.checkAuth().subscribe(({ isAuthenticated, userData}) => {
if (isAuthenticated){
this.isAuthenticated = true
} else {
this.isAuthenticated = false
}
});
}
login() {
this.oidcSecurityService.authorize();
}
refreshSession() {
this.oidcSecurityService.forceRefreshSession().subscribe((result) => console.log(result));
}
logout() {
this.oidcSecurityService.logoff();
}
logoffAndRevokeTokens() {
this.oidcSecurityService.logoffAndRevokeTokens().subscribe((result) => console.log(result));
}
revokeRefreshToken() {
this.oidcSecurityService.revokeRefreshToken().subscribe((result) => console.log(result));
}
revokeAccessToken() {
this.oidcSecurityService.revokeAccessToken().subscribe((result) => console.log(result));
}
}HTMLは以下のとおりです。
<h2>OIDC demo app</h2>

<div *ngIf="isAuthenticated; else noAuth">
  <button (click)="logout()">Logout</button>
  <button (click)="logoffAndRevokeTokens()">Logout and revoke tokens</button>
  <button (click)="revokeAccessToken()">Revoke access token</button>
  <button (click)="revokeRefreshToken()">Revoke refresh token</button>
  <button (click)="refreshSession()">Refresh session</button>
  <hr />

  <br />

  Is Authenticated: {{ isAuthenticated }}

  <br />
  userData
  <pre>{{ userData$ | async | json }}</pre>

  <br />
</div>

<ng-template #noAuth>
  <button (click)="login()">Login</button>
  <hr />
</ng-template>これで設定は完了です。ちなみに、失敗時の/unauthorizedページは実装していないので、不完全です。
テストとまとめ
テスト
Angularアプリケーションを起動します。
> ng serve続いて、http://localhost:4200にアクセスすると下記のようなページが現れます。
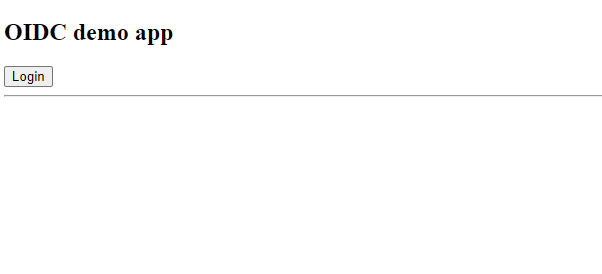
ログインボタンをクリックするとAzureADのログイン画面が出るので、ユーザーの認証情報でログインします。
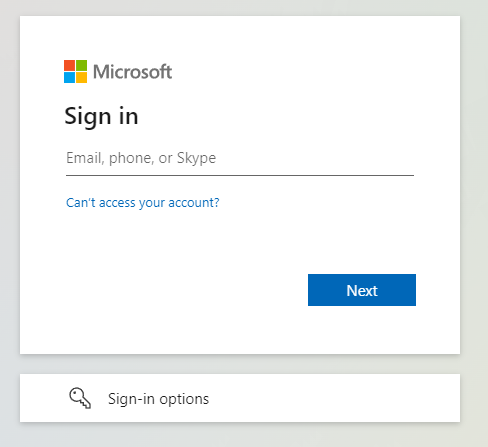
ログインに成功すると、AzureADから取得したユーザーの情報が表示されます。
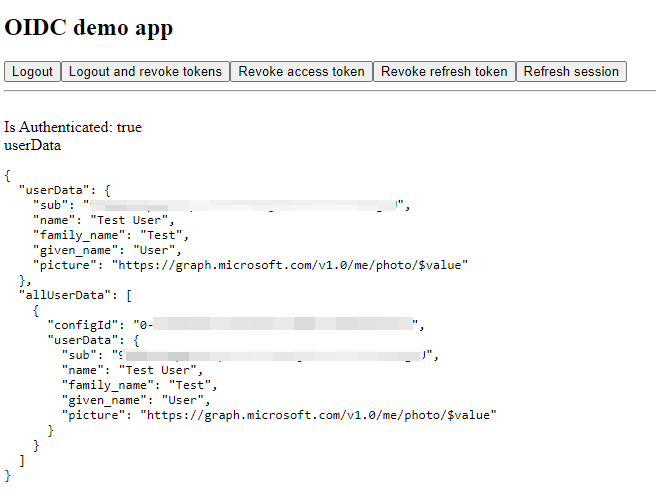
とりあえず、認証認可できているので本記事はここまで。
まとめ
今回は、基本的な認可コードフローを最低限のコードで実装しました。
次回の記事で、今回のフローの詳細とバックグラウンドで走っているRenewを詳しく見ていきます。